
VISPR visualization#
Author:
🛠️ Prerequisites
MAGeCK output files (
.vispr.yaml)RCAC HPC account
Personal computer with terminal access
MAGeCK-VISPR is a comprehensive quality control, analysis, and visualization workflow for CRISPR/Cas9 screens. This guide provides a straightforward method for running the visualization component on an HPC cluster and viewing the results on your local machine.
1. Connect to HPC and start an interactive session#
First, open a terminal on your local computer and connect to the HPC cluster. Then, request an interactive session on a compute node.
# Connect to a Purdue RCAC HPC cluster (e.g., Negishi)
ssh purdue.pete@negishi.rcac.purdue.edu
# where `purdue.pete` is your username
# Request an interactive node with 8 cores for 4 hours
# Replace "your_account" with your specific account/allocation name
salloc -N 1 -n 8 -t 4:00:00 -A your_account
Once the job is allocated, you’ll be automatically connected to a compute node. Take note of the node’s name (e.g., a446) as you will need it later.
You can also do echo $SLURM_JOB_NODELIST to see the node name.
2. Load the modules and start the VISPR server#
Next, load the required software modules and navigate to the directory containing your MAGeCK-VISPR results.
# Load the necessary modules
ml biocontainers
ml mageck-vispr

# Navigate to your project directory
cd /path/to/your/mageck-output

# Find a port number that is not in use
python3 -c 'import socket; s=socket.socket(); s.bind(("", 0)); print(s.getsockname()[1]); s.close()'
This command will output a port number that is not currently in use. You can use this port number to run the VISPR server. In my case, it returned 45511, but yours may be different.
# Start the VISPR server using the Apptainer container
# Replace port number (45511) with the port number you found in the previous step
apptainer exec /apps/biocontainers/images/quay.io_biocontainers_mageck-vispr\:0.5.6--py_0.sif \
vispr server --port 45511 results/*.vispr.yaml
The server will start and indicate it’s running on a specific port, 45511. Leave this terminal running.
Warning
The session should remain active and should not display any errors. Warning messages are normal, but if you see errors, please check the module versions or your input files.
🔍 Click to see example server output
Above command will output something like this:
$ apptainer exec /apps/biocontainers/images/quay.io_biocontainers_mageck-vispr\:0.5.6--py_0.sif \
vispr server --port 45511 results/*.yaml
Loading data.
  config = yaml.load(f)
Starting server.

Open:  go to 127.0.0.1:45511 in your browser.
Note: Safari and Internet Explorer are currently unsupported.
Close: hit Ctrl-C in this terminal.
 * Serving Flask app "vispr.server" (lazy loading)
 * Environment: production
   WARNING: This is a development server. Do not use it in a production deployment.
   Use a production WSGI server instead.
 * Debug mode: off
3. Forward the port to your local computer#
To view the web interface, you need to create an SSH tunnel from the compute node to your local machine.
Open a new, second terminal on your local computer and run the following command.
💻 Use your local terminal
This SSH tunnel command must be run from your local machine, not the HPC node.
✅ Windows: Use PowerShell or WSL with SSH support.
✅ macOS/Linux: Use the default terminal.
# Replace <node_name> with the name of the node from step 1 (e.g., a446.negishi.rcac.purdue.edu)
# Replace <port> with the port number from the server output (e.g., 45511)
# Replace <your_username> and <hpc_login_node> with your details
ssh -L <local-port>:localhost:<remote-port> -J <username>@<hpc-hostname-> <your_username>@<node_name>
Example:
If your job is on node a446, the server is on port 45511, your username is pete, and you log into negishi.rcac.purdue.edu, the command would be:
ssh -f -N -L 8788:localhost:45511 -J pete@negishi.rcac.purdue.edu pete@a446.negishi.rcac.purdue.edu
Note
You will be asked to enter your password for the HPC login node (or use the ssh-key if you have set it up and login without any prompt). Since you will likely be connecting to the compute node for the very first time you will also be asked to confirm the authenticity of the host. Type “yes” to continue.

Figure 1: SSH tunnel command output (local PowerShell terminal is being used here)
SSH tunnel command breakdown#
The following table explains the components of the SSH command used to tunnel port 45511 through a jump host:
Option |
Description |
|---|---|
|
🧵 Forks SSH to the background (ideal for port forwarding). |
|
🛑 Tells SSH not to run remote commands (just tunnel). |
|
🔁 Forwards local port to the remote compute node port. |
|
🪜 Jump host (Negishi login node). |
|
🎯 Target compute node running the server. |
4. View the VISPR interface#
After successfully establishing the SSH tunnel, you can now access the VISPR web interface from your local machine.
🌐 Open a browser and go to:
http://localhost:8788
Attention
Replace 8788 with the local port number you used for forwarding
🧩 You should now see the interactive VISPR dashboard rendered locally!
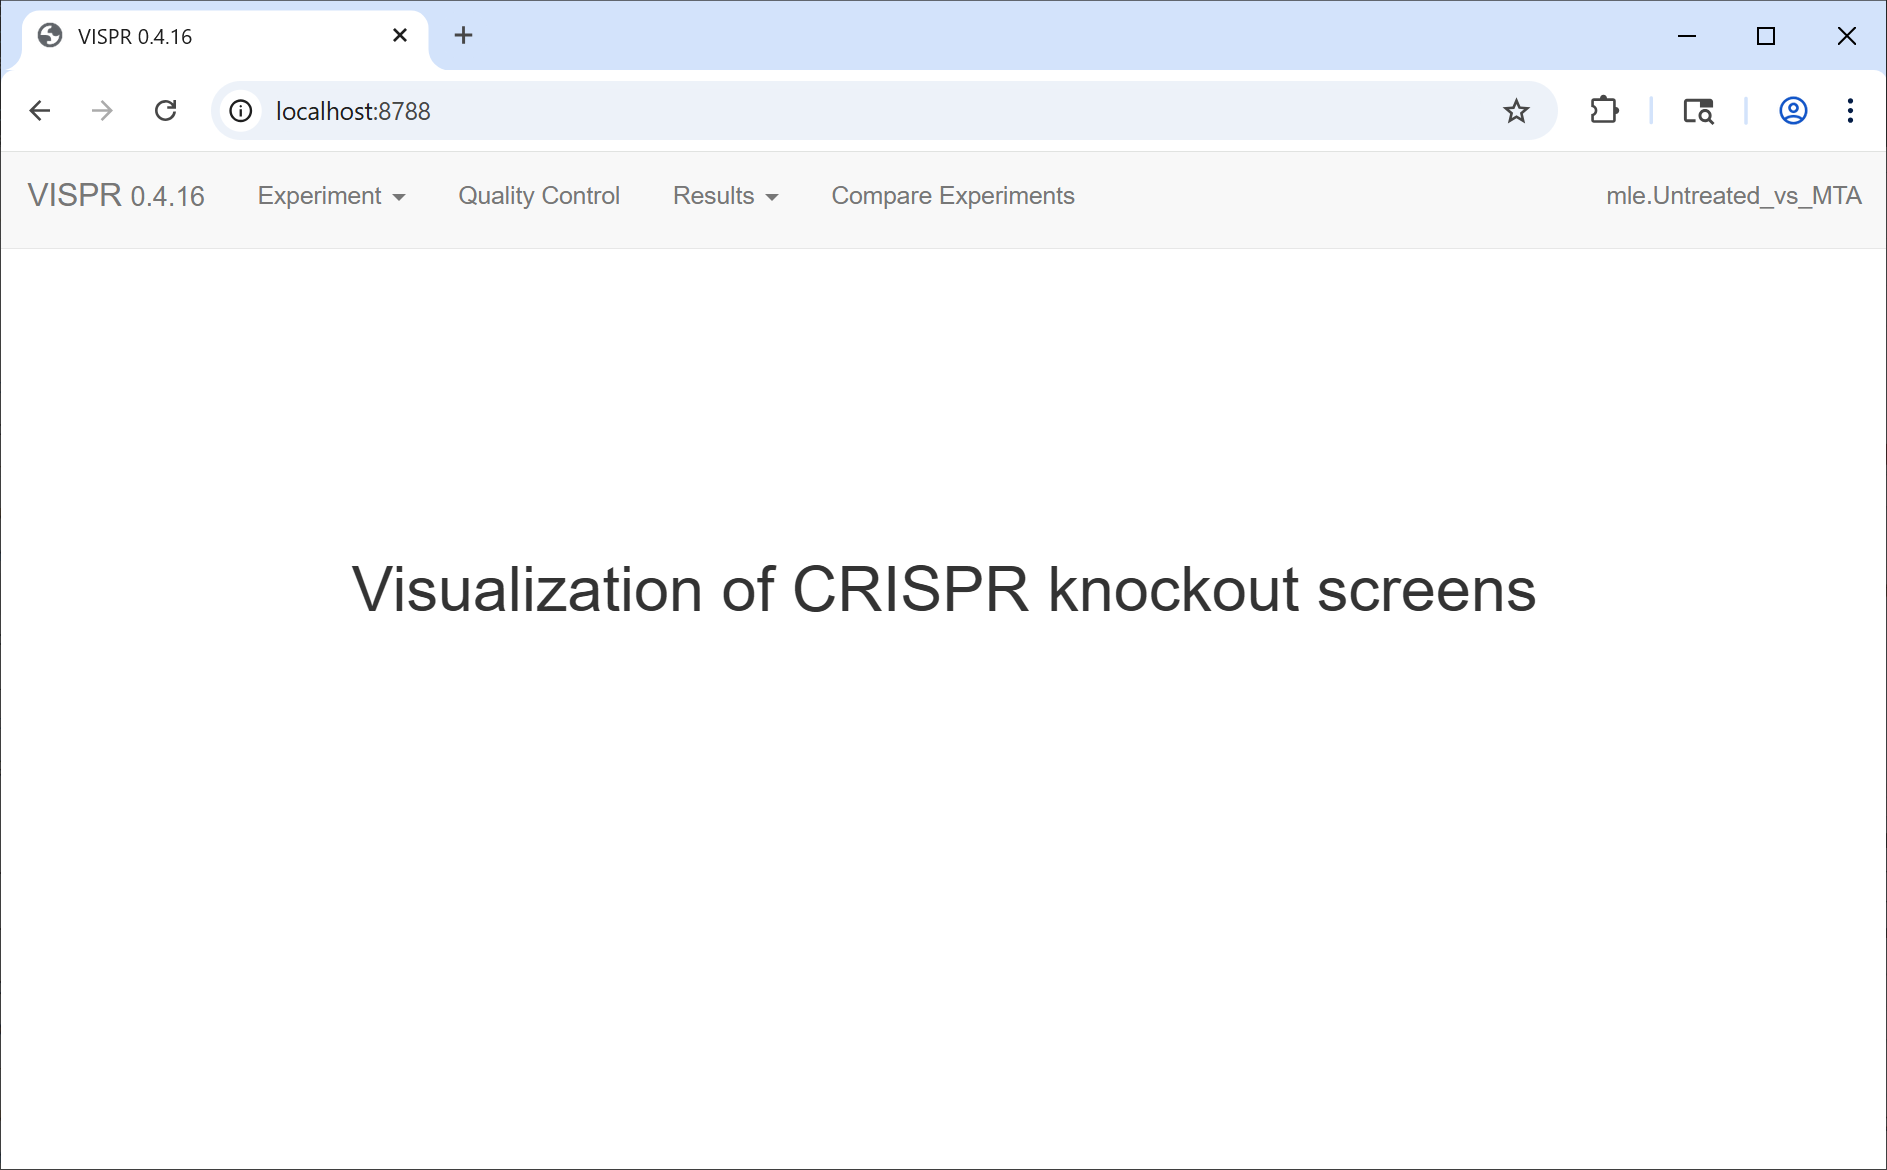 Figure 2: VISPR interface loaded in a web browser